Showing posts with label Fried. Show all posts

Monday, February 4, 2013

Perfect French Fries


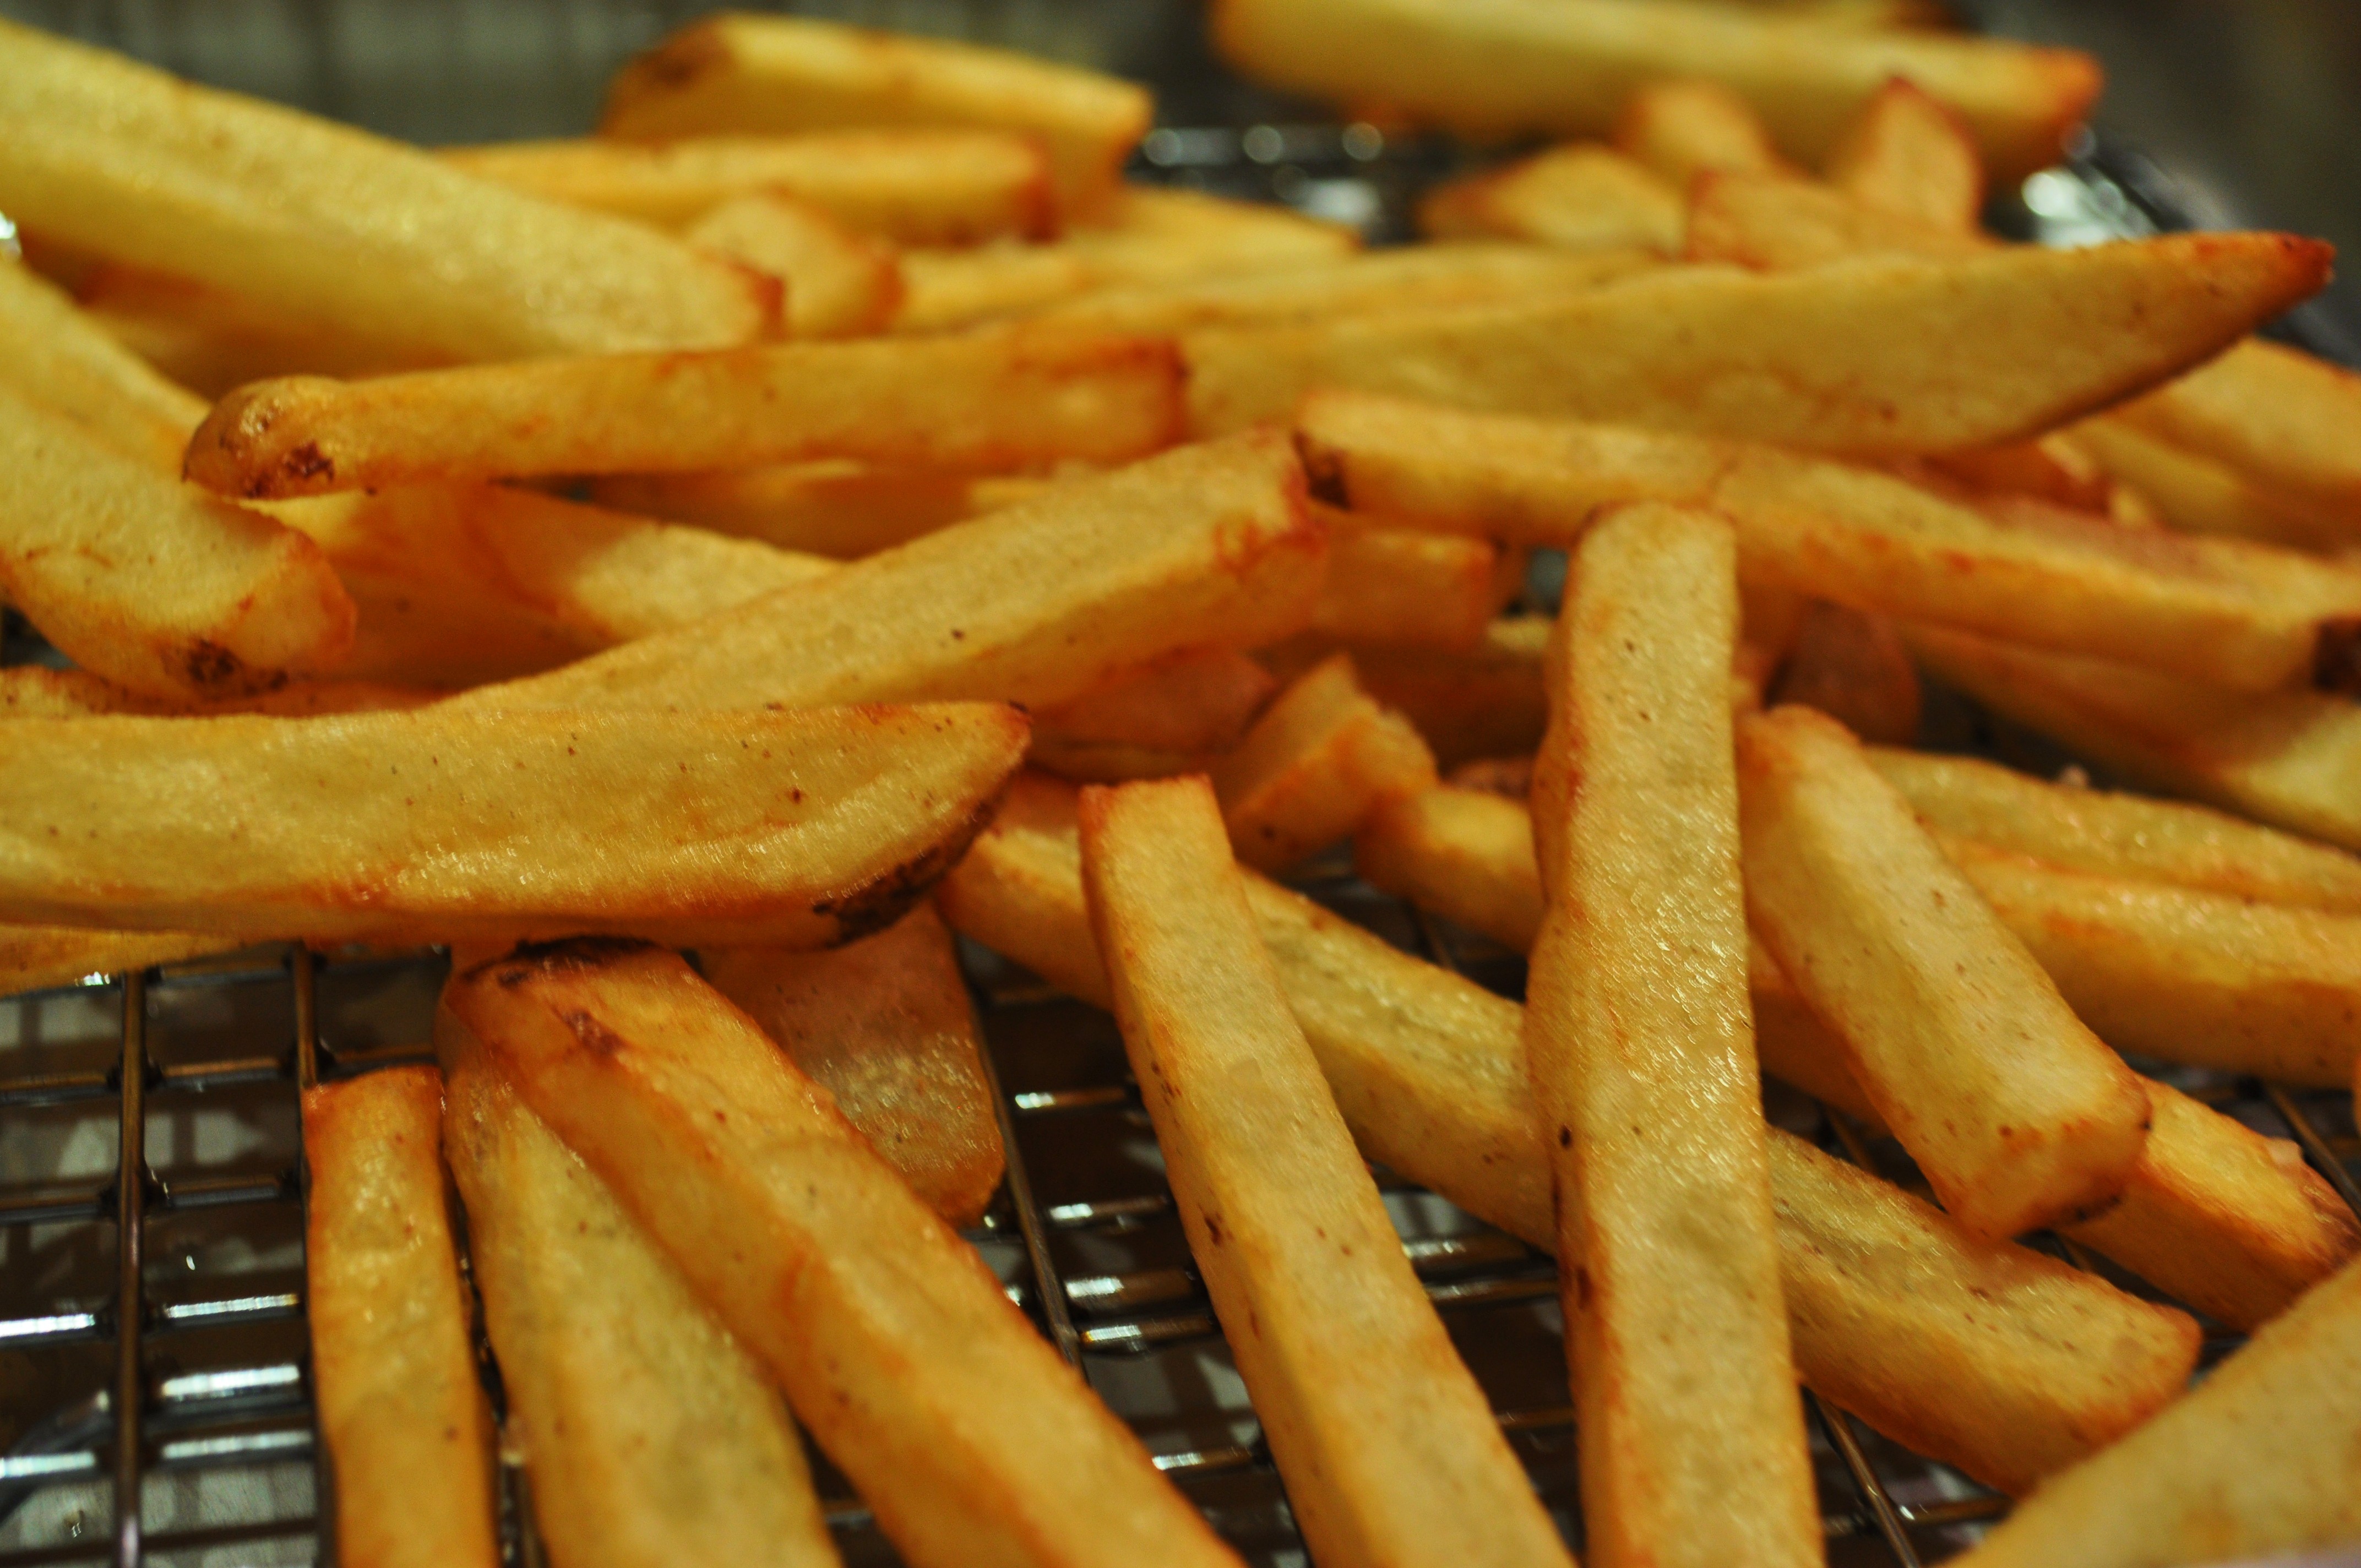
Perfectly cooked fries
I love French fries. I am constantly seeking a way to make the best ones.  Sometimes I like them thin and crispy, sometimes thick and pillowy light inside (best done by roasting at a high temp.). Most often like Goldilocks, I like them “just right.” That means that they are medium cut fries, a little crispy on the outside and soft on the outside, full of potato flavor, not the grease they were cooked in. I like fries cooked in duck fat, but that is not always something I have an abundance of. Here is the method, it is simple and only requires a large pot (best for keeping splatters contained) a deep thermometer used for frying  or cheese making, a spider (or other mesh spoon to retrieve your fries and some good quality canola oil.  The thermometer is the only thing you may need to go out and buy. Here is an example. You need this because you will need to control the temperature of the oil.
Ingredients:
Russet Potatoes, well washed
Canola Oil at least 3 ” deep
Smoked or Kosher Salt
Method:
  1. Cut the ends off of the potatoes and then the rounded edges. lay flat and cut into 1/2 ” strips. Place in salted water till finished cutting.
  2. Preheat the oil to 250 degrees.
  3. Use either a salad spinner or a dish cloth to completely dry the fries. Once the oil is ready place fries into the oil. You should not be crowding them, you may need to do this in batches.
  4. Cook until they start to look slightly golden, about 4 minutes, making sure that the oil temperature stays at 250.
  5. Carefully remove to a straining tray (cookie sheet or steam pan) with a rack.  I say carefully because the potatoes are very tender at this point and can easily tear.
  6. Bring the heat of the oil to 365 degrees.
  7. Add the potatoes in batches and allow to cook till they are perfectly golden with a subtle  bit of brown on the edges. Remove to the draining tray again and salt IMMEDIATELY. Serve right away with home made mayonnaise, BBQ sauce or ketchup.
Burger and fries

Monday, August 6, 2012

Squash Blossoms!


Squash Blossoms

Squash Blossoms
Image
Squash or pumpkin blossoms offer up multiple opportunities. While in cooking school in Mexico, we used them as a filling ingredient for quesedillas, empanadas and tacos. They were also tossed in salads and soups for color and nutrition. Of course they are also lovely when filled and fried or baked. Squash blossoms are a unique ingredient. Unless you have a big patch of squash or pumpkins, you are at the whim of the farmer who brings these highly perishable ingredient to market. At the Charleston Farmer’s Market yesterday, I spied a little box of the blooms and grabbed it. My mind was swimming with filling ideas as we drove home. I decided on some queso fresca that I bought at a small Hispanic market on John’s Island with herbs and peppers & a little marscarpone for smoothness.  
Image
The recipe:
Ingredients
10-12 squash blossoms
1/2 cup queso fresco ( you can also use a creamy feta) allow it to warm up to room temperature
1 jalapeno or hotter pepper if you want more spice cut into small pieces
3 tablespoons marscarpone or cream cheese
a hand full of grated jack cheese
6 sprigs of cilantro
salt and pepper to taste
For batter: 
1 1/2 cups flour
1 can or bottle of beer
salt and pepper
Method
About 2 hours before you plan to serve, mix the beer and flour together with salt and pepper. Cover and leave on the counter. 
Clean blossoms by brushing off any soil, do not run under water. Pull out the stamen. 
For filling: 
Place the cheeses, cilantro, pepper and salt and pepper in the small bowl of a food processor. This can also be done by hand, but if you are doing it that way, you will need to finely chop the pepper and cilantro. 
Pulse until the filling is smooth. Using a spatula, fill a small zip lock bag. Push all of the filling down so that there is no air in the bag. Just before filling cut a small piece of the corner off and pipe the filling into the blossom, carefully wrapping the petals around the filling. Leave the top 1/2 inch unfilled and twist to enclose the filling. Refrigerate. 
In a large pot or fryer heat peanut or canola oil (at least 3 inches) to 375 degrees. 
Image
Put a few stuffed blossoms into the batter and then place carefully into the hot oil. After about a minute of frying, turn the blossoms and allow them to fry till golden. Remove with a spider and drain. Serve immediately. 
ImageYou can find another post of mine about squash blossoms made with sourdough batter here on my Hawaii blog.