Wednesday, September 28, 2011

Sourdough Starter Day 2,3 & 4


Here is how we got to this point: Making Sourdough Starter
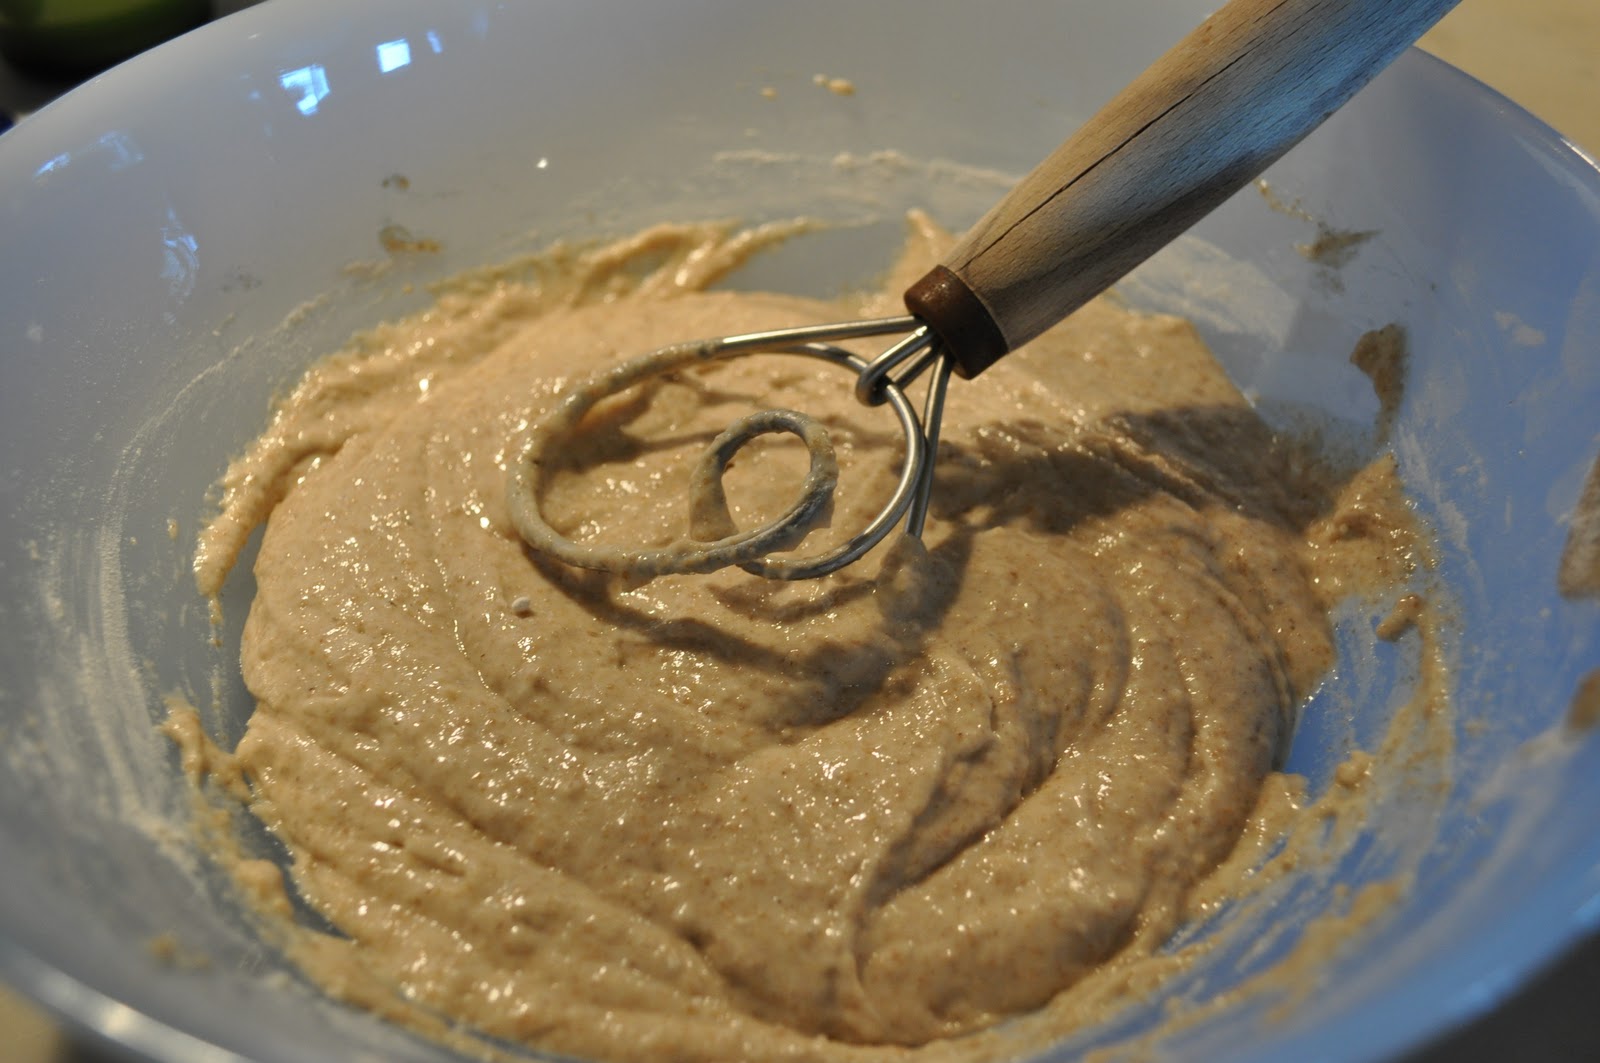
Day Two: While you may not notice much change at this point. I noticed a huge difference. In 48 hours my starter had already formed bubbles and increased in size by about 20%. Pour the contents of the jar into a mixing bowl and add 1 cup of bread flour plus 1/2 cup of room temperature pineapple juice.  Mix until all ingredients are evenly distributed.  Wash and dry your glass container and then scrape the mixture into the container.  Mark and cover the container just like day one.  Allow it to rest at room temperature for 24 hours.
Day Three: Boy did I see changes! My dough overflowed the jar overnight. It was a huge mess and I decided that the natural yeast in our area and the heat/humidity (78-81 degrees and 40% humidity) probably contributed to the action going on in my starter. I decided to work in a larger bowl for a while to elevate the chances of overflow.

You might be seeing some changes by now. The dough may have raised some and there might be bubbles.  Regardless of whether you notice any fermentation or not, discard half of the mixture (or better yet, give it to a friend to cultivate), and mix the remaining half with 1 cup of bread flour and 1/2 cup room temperature filtered water (chlorine may kill some of the yeast).  Wash and dry the glass container and scrape the mixture into the container.  Mark and cover as before.  Allow to rest at room temperature for 24 hours.

I divided my starter and made some pizza dough with one half using a teaspoon of yeast too. It had GREAT flavor. I am looking forward to the day when I do not need the yeast at all. 

Sunday, September 25, 2011

Sourdough Starter Day 1


Two years ago I went on a baking adventure with 100 other food bloggers from around the world. We all baked breads from The Bread Breaker’s Apprentice by Peter Reinhardt. The impetus and inspiration for this blogging and baking adventure was a blogger from San Diego, Nicole Emmert Hamaker  who has the fabulous food blog Pinch My Salt. Nicole is revisiting sourdough and inviting us to join along, and I in turn am asking my blog followers to do the same. Let’s jump on the fermentation wagon together and see what works together.
During the BBA days I did the sourdough starter and kept it going for over a year. And then partly because I live in a warm tropical climate where bread baking is not always conducive, and partly because my business was taking up more of my baking time, I finally threw out the starter.
There are several links on my blog to those baked goods. This is one of my Sourdough Posts from the BBA Days in 2009.
Here is how I made my starter. Today is “Day One”. It will be a few days till I will be baking with it, but I will have some to share in three days.
Sourdough Starter

Day One: In a medium sized bowl, add one cup of whole wheat or whole rye flour (I use organic dark rye) with 3/4 cup (6 oz/small can) canned pineapple juice (at room temperature) until all of the flour is hydrated.  Spoon all of the mixture into a quart-size wide mouth glass container, such as a jar or glass measuring cup with plenty of head space, as this will eventually grow.  Mark the level of the starter with a piece of tape or rubber band. Cover the container with some kind of breathable fabric; paper towel, cheesecloth, or coffee filter and tie or secure with a rubber band.  Allow to rest at room temperature for 24 hours.
Day Two: You may not notice much change at this point.  Pour the contents of the jar into a mixing bowl and add 1 cup of bread flour plus 1/2 cup of room temperature pineapple juice.  Mix until all ingredients are evenly distributed.  Wash and dry your glass container and then scrape the mixture into the container.  Mark and cover the container just like day one.  Allow it to rest at room temperature for 24 hours.
Day Three: You might see some changes by now. The dough may have raised some and there might be bubbles.  Regardless of whether you notice any fermentation or not, discard half of the mixture (or better yet, give it to a friend to cultivate), and mix the remaining half with 1 cup of bread flour and 1/2 cup room temperature filtered water (chlorine may kill some of the yeast).  Wash and dry the glass container and scrape the mixture into the container.  Mark and cover as before.  Allow to rest at room temperature for  24 hours.
Day Four: The mixture should have at least doubled in size at this point.  If it seems to be sluggish and hasn’t doubled in size, allow it to sit at room temperature for another 12 to 24 hours.  You could stir in a teaspoon of raw sugar if it seems to be sluggish. Otherwise, repeat instructions for Day three.
When we get to day five, we will continue together! 

Saturday, September 24, 2011

Cherry and Pistachio Biscotti

I made this biscotti and wanted to share it with you all. The original recipe was in Bon Appetit Magazine. It called for oatmeal and vegetable oil, which I changed to polenta and olive oil. This is really a great biscotti and very easy to make.

Dried Cherry, Pistachio and Polenta Biscotti

Ingredients
·         1 3/4 cups unbleached all-purpose flour
·         1 cup sugar
·         1/2 cup uncooked polenta (coarse grain is best)
·         1 tsp. baking powder
·         1/2 tsp. baking soda
·         1/2 tsp. kosher salt
·         2 large eggs
·         3 Tbsp. vegetable oil
·         1 Tbsp. orange zest
·         2 tsp. lemon zest
·         1 1/2 tsp. vanilla extract
·         1/2 tsp. almond extract
·         1 cup dried cherries
·         1 cup unsalted, shelled pistachios
Method
·         Preheat oven to 350°. Line a large rimmed baking sheet with parchment paper. Combine first 6 ingredients in the bowl of a stand mixer fitted with a paddle. Blend on low speed for 30 seconds. Meanwhile, in a separate bowl, whisk together eggs and next 5 ingredients. Add egg mixture to flour mixture; beat on low speed until combined, about 1 1/2 minutes. Fold in cherries and pistachios.
·         Transfer dough to a lightly floured surface; divide in half. Using floured hands, shape each dough half into a 16"-long log. Brush off excess flour; transfer logs to prepared sheet, spaced 5" apart. Flatten each log into a 2"-wide strip. 
Bake, rotating sheet halfway through, until browned and set, about 30 minutes. Transfer to a rack; let cool for 15 minutes. Reduce oven to 250° and arrange 1 rack in top third of oven and 1 rack in bottom third.
·         Line a second baking sheet with parchment paper. Transfer biscotti to a work surface. Using a serrated knife, cut each strip diagonally into 2/3"-thick slices. Arrange slices, cut side down, on baking sheets.

·         Bake biscotti, rotating baking sheets halfway through, until crisp, about 40 minutes. Transfer baking sheets to racks; let cool. DO AHEAD Can be made 3 days ahead. Store in an airtight container at room temperature.


Monday, September 5, 2011

Best Fried Chicken French Laundry Style

Thomas Keller of the French Laundry  fame serves this chicken at Ad Hoc every Tuesday. This is quite simply the best fried chicken ever. I have tweaked it a bit from the original recipe after making it a few times. Less bay leaves, added peppers, fresh turmeric, honey in the buttermilk and some other changes. The brine maintains texture and flavors the chicken. It is delicious hot or cold. The buttermilk and honey impart a tang and sweetness. The coating fries perfectly if you maintain the temperature of the oil. 
You need to start this ahead of time, it takes two days to make. The first 24 hours is brining in the refrigerator, but the active time for frying the chicken is no longer than any other recipe of fried chicken.    

In my house it is for special occasions, as each piece is about 500-700 calories depending on if you eat the skin (and WHY wouldn't you?). 
For the Brine: 
1 gallon water
1c kosher salt
1/2cup of honey
1/2 cup raw sugar

2 bay leaves
2 heads of garlic cut in half
¼ cup yellow mustard seeds
1 finger of fresh turmeric grated (2 Tablespoons of ground turmeric if you cannot find fresh)

1 small hand full of whole black peppercorns
2 large stalks of lemon grass bruised

5 large rosemary sprigs
1 bunch thyme
1 bunch parsley
Zest, juice and rind of 3 Meyer lemons 
5 habanero chiles cut in half
4-6 # of chicken parts (Split breasts are quite large these days, so if you find yours extra large, use a cleaver and cut each breast in half)

For Frying:
6c flour
3T garlic salt
5T onion powder
2 T paprika
4t cayenne
1T fresh black pepper
2t kosher salt (I use smoked Hawaiian salt)
6c buttermilk
12c peanut oil (or freshly rendered lard)


Method:
Place all of the brine ingredients in a large pot and heat till the sugar and honey melt. Remove from stove and allow to cool. To speed this process up, you can use ¾ gallon of water and then add 4 cups of ice cubes after cooking.

When completely cool add chicken parts. Refrigerate for 12-24 hours.

Mix together the honey and buttermilk.

Remove the chicken from the brine and pat dry with paper towels
Add to the honey and buttermilk and allow to soak for at least one hour and up to 12 hours.

Heat the oil/lard in a very large deep pot to 300˚, try to maintain this heat during cooking, do not let the oil get too hot.

Mix together the flour and seasonings in a large pan.

One piece at a time, take each chicken piece out of the buttermilk mixture, coat with flour, shake off excess and then dunk again in the buttermilk and coat again in flour. 

Set the chicken pieces on a large baking sheet lined with waxed paper. Allow the chicken to sit at room temperature for 30 minutes to one hour. 
Start frying, two to three pieces at a time, do not crowd the chicken. It would be even better to do it one piece at a time so the oil maintains the 300˚ temperature, but that is time consuming. Use a candy thermometer to maintain the temperature as close to 300˚ as possible. When the chicken is golden brown (about 12 minutes for legs and thighs, 7 minutes for ½ breasts) use an instant read thermometer to check doneness. It should read 160 ˚. Remove and place on a sheet pan in a warming oven no warmer than 120 degrees.


Serve while warm.